
Last updated November 15, 2026
 Sweep & inspection
 Caps & crowns
 Flue relining
 Masonry repair
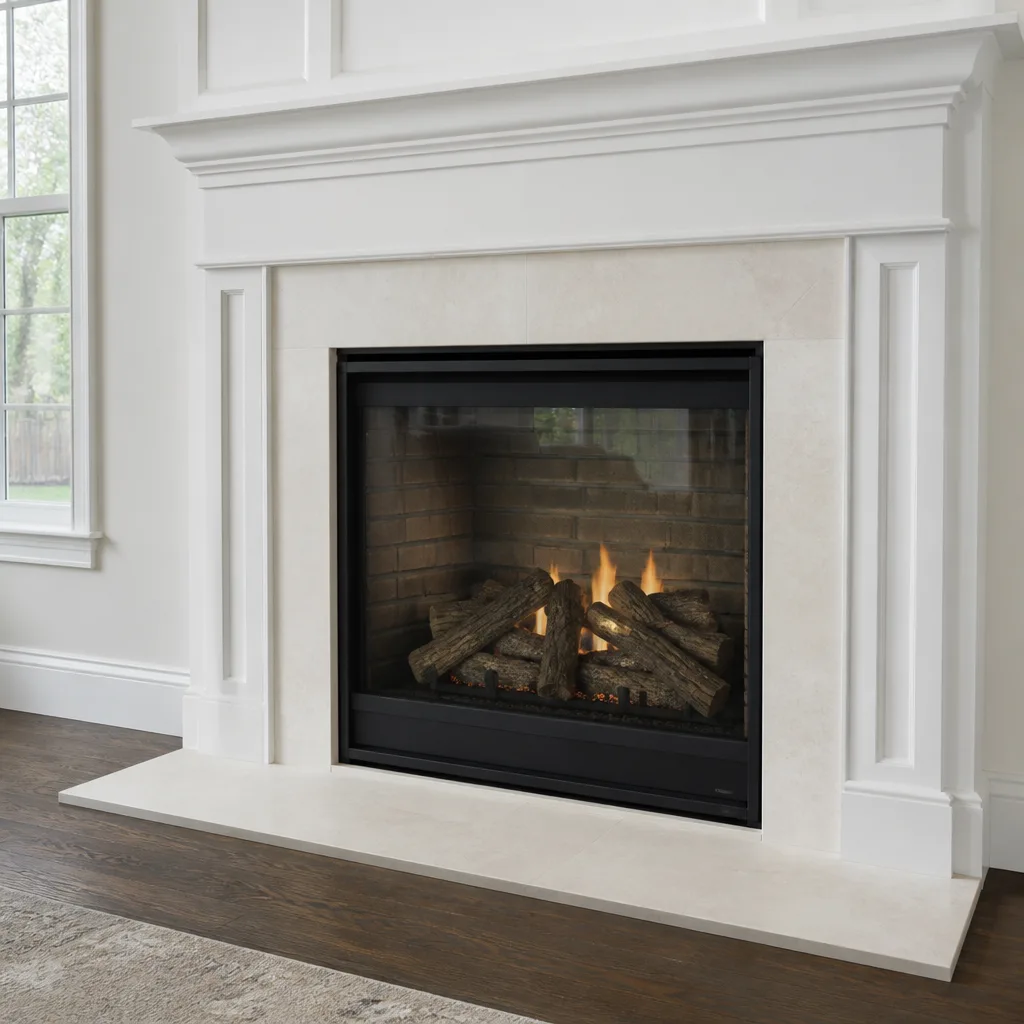 Gas fireplace service
Level 1 sweep and inspection to the NFPA 211 annual standard - flue, crown, cap, and flashing checked and photographed
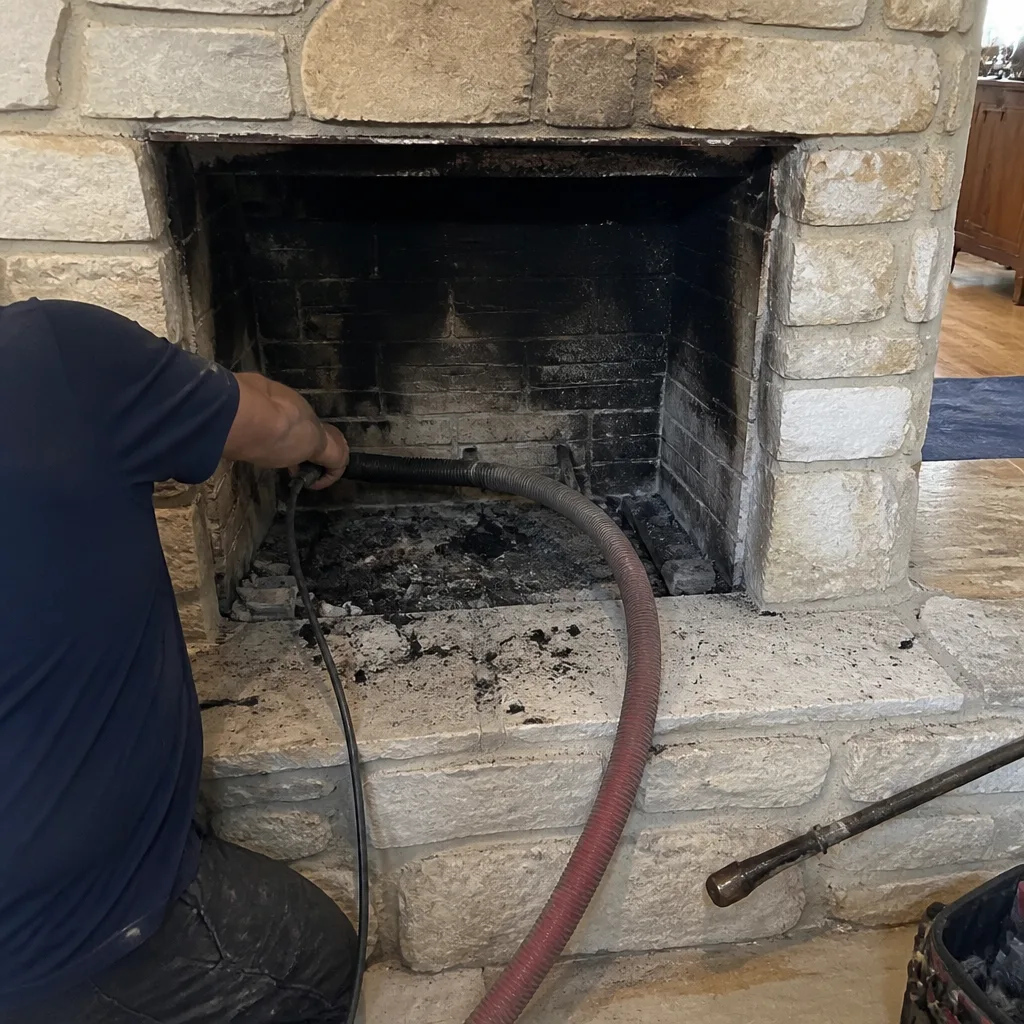
Chimney sweep logs do not sweep chimneys. They loosen some creosote - which then falls where a brush and vacuum still have to collect it.
Chimney Sweep Maintenance Checklist for Waco Homeowners
“Get your chimney inspected once a year” is the advice every Waco homeowner has heard, and most people nod along without ever asking the useful follow-up: what is an inspection actually checking, and in what order? A damper, a smoke chamber, a flue liner and a crown each wear differently and fail on their own timelines. Bundling them into one annual checkbox is exactly how small problems hide for years. This guide walks through a real component-by-component checklist, the same sequence a chimney professional uses before and after cleaning. You’ll learn what to look for in each part of the system, which hands-on tests you can safely run yourself, and when a task should move from “schedule it” to “stop using this fireplace.”
Styles & brands we work with
- Sweep & inspection
- Caps & crowns
- Flue relining
- Masonry repair
- Gas fireplace service
Quick Answer
A working chimney maintenance checklist for a Waco home covers seven parts in this order: firebox, damper, smoke shelf, smoke chamber, flue liner, crown, and cap. Sweep a wood-burning chimney roughly once a year of active use, check the damper and cap every season, and look at the crown and liner at every cleaning. Anything that shows cracked masonry, loose liner tiles, or a damper that won’t seal belongs in front of a professional before the next fire, not after.
Table of Contents
- The Component-by-Component Checklist
- Firebox and Damper: Where Most Wear Shows First
- Smoke Shelf and Smoke Chamber: The Overlooked Middle
- The Flue Liner: The Part That Decides Everything Else
- Crown and Cap: The Weather-Facing End of the System
- Hands-On Tests Homeowners Can Run Safely
- Maintenance Intervals by Fuel Type
- Red-Flag Conditions That Mean Stop Using the Fireplace
- How a Liner System Changes Your Maintenance Schedule
- Common Mistakes to Avoid
- When to Call a Professional
- Frequently Asked Questions
- The Bottom Line
The Component-by-Component Checklist
The reason a single “annual inspection” feels vague is that it treats seven separate parts as one item. Each one has its own failure mode, its own wear timeline, and its own test. Working through them in order from the fire up and out keeps you from skipping the parts you can’t see from the hearth.
Here is the order a professional chimney technician follows, and the order we’d suggest you walk it in yourself. Note that each step builds on the last: a clean firebox tells you little if the smoke chamber above it is coated in glaze, and a sound liner means nothing if the crown is channeling water into the masonry.
- Firebox – the open chamber where the fire burns.
- Damper – the metal plate that seals the flue when the fireplace is idle.
- Smoke shelf – the ledge just behind the damper that turns rising smoke back up the flue.
- Smoke chamber – the sloped space above the shelf that compresses smoke into the flue opening.
- Flue liner – the tile, cast-in-place, or metal tube that carries exhaust up and out.
- Crown – the concrete cap at the top of the masonry that sheds water away from the chimney.
- Cap – the cover over the flue opening that keeps out rain, animals, and debris.
For a Waco homeowner, this order matters because of how local chimneys age. Central Texas masonry spends most of the year baking in heat and then takes on a handful of cold snaps where the fireplace runs hard for weeks. That cycle stresses the joint between the firebox and the smoke chamber more than most people expect, and it’s why a checklist that skips straight to “sweep the flue” leaves the actually-worn parts unexamined.
Firebox and Damper: Where Most Wear Shows First
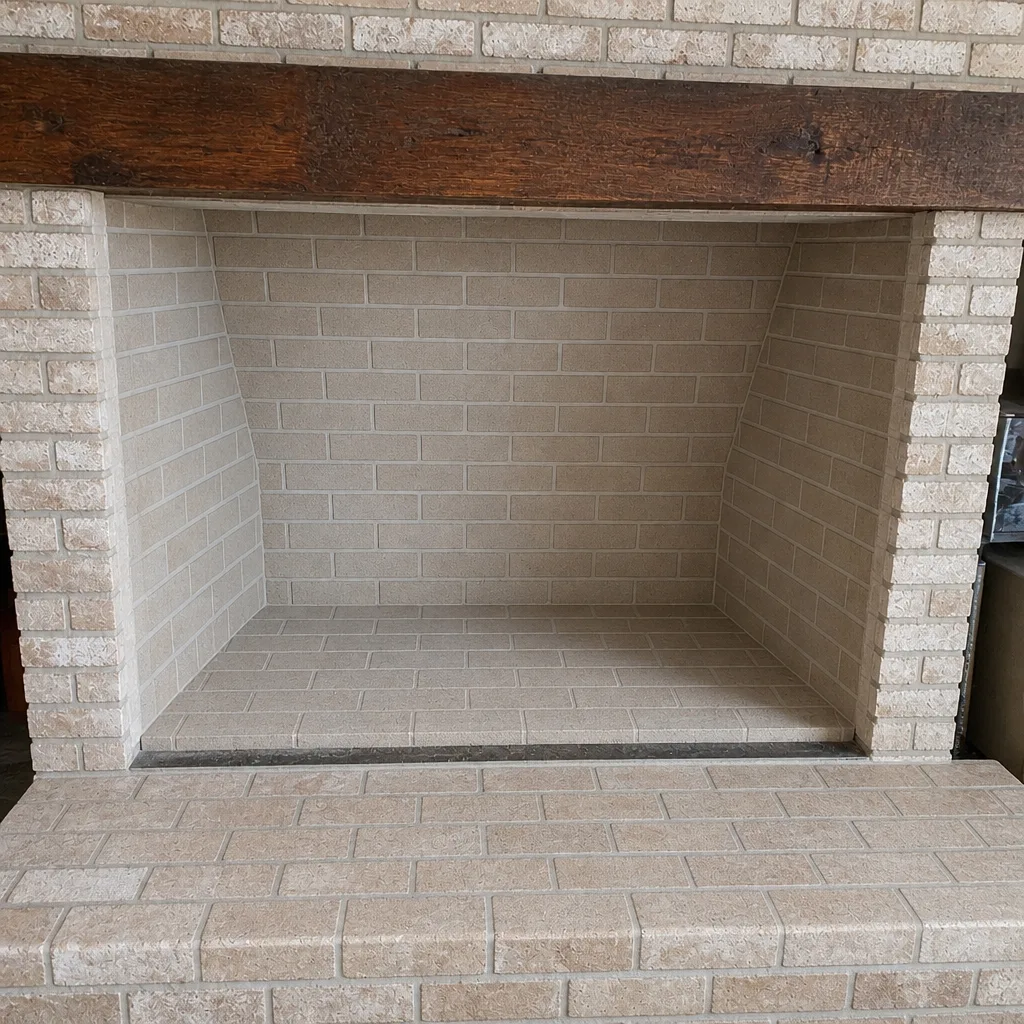
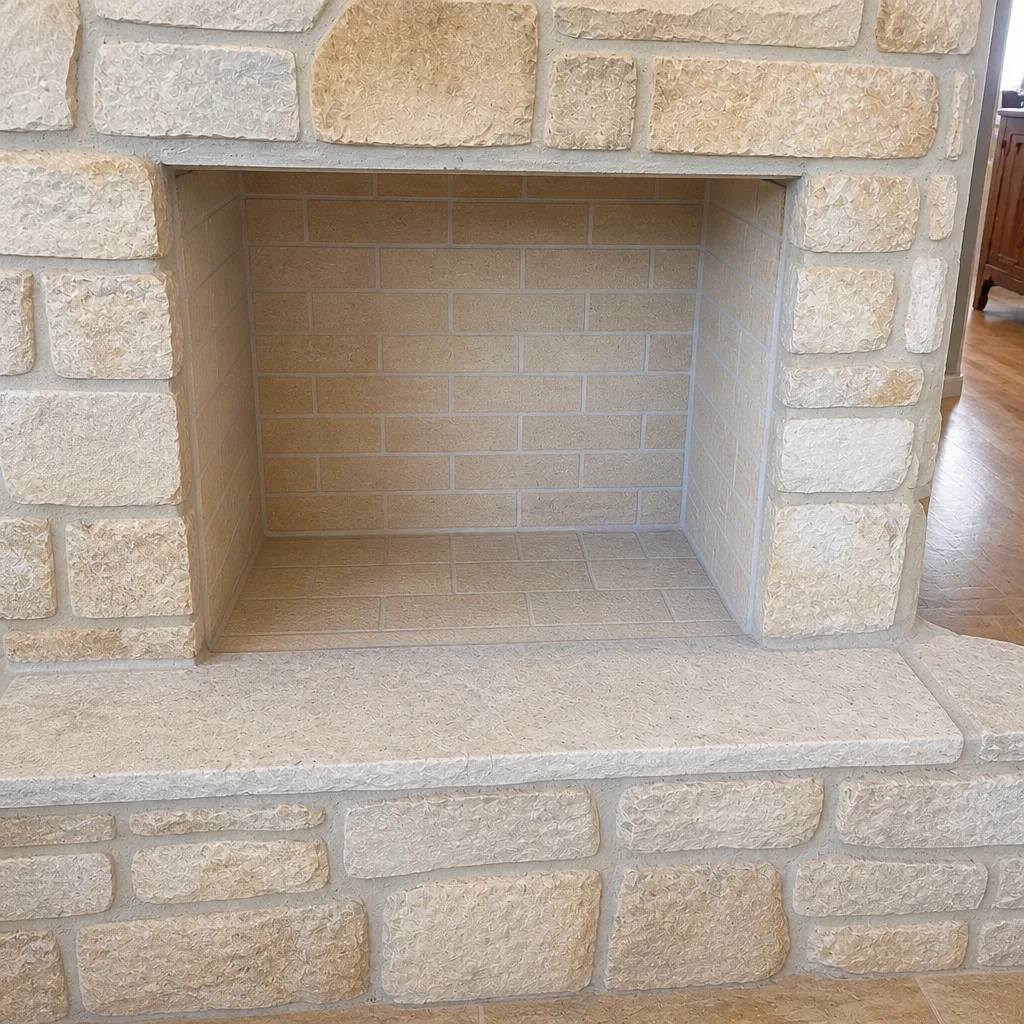
The firebox is the first thing to examine because it takes the direct heat and the direct abuse. In a masonry fireplace you’re looking for cracked firebrick, missing mortar joints between the bricks, and any white, chalky bloom on the brick face. That chalky bloom usually means moisture is getting in from above and working its way down through the masonry, which points you toward the crown and cap later in the checklist.
What to check on the firebox:
- Cracked or spalled firebrick, especially at the back wall and the sidewalls near the fire.
- Recessed or missing mortar joints, which let heat reach the surrounding masonry.
- White mineral staining on the brick, a sign of water in the chimney.
- A fireback or grate that’s warped, which suggests the fireplace has been run hotter than its design allows.
The damper is next, and it’s a part most homeowners interact with daily without ever inspecting. Open and close it fully. It should travel smoothly and seat flush when closed. A damper that sticks, drops at an angle, or won’t seal lets heated room air escape up the flue all year and lets cold air spill back down into the living room in winter. A damper that’s visibly rusted or has a bent frame is a repair item, not a cleaning item. We work with chimney repair components from Gelco and other professional suppliers for exactly this kind of hardware, because a damper that doesn’t seal properly is doing more to cost you heat than most people realize.
One thing worth knowing: a top-sealing damper, installed at the crown rather than inside the firebox, is a common upgrade for Waco homes that see a lot of summer heat gain through an open flue. If your firebox damper is worn out anyway, it’s worth asking about before replacing like-for-like.
Smoke Shelf and Smoke Chamber: The Overlooked Middle
The smoke shelf and smoke chamber are the parts of a chimney that almost never get looked at by a homeowner and get rushed by a lot of sweep-only services. They sit above the damper and below the flue, and they’re where smoke is shaped and redirected upward. When they’re right, you never think about them. When they’re wrong, you get a fireplace that smokes into the room on windy days or on the first fire of the season.
What a proper check looks for in this zone:
- Smoke shelf: a ledge that’s built up with soot and creosote, or worse, that’s been broken or chipped over time. A damaged shelf sends smoke rolling forward instead of up.
- Smoke chamber: rough, corbelled brickwork that should be smooth. Rough walls catch creosote and slow the draft. A professional may recommend Chimney Sweep Waco chamber smoothing with a refractory product, which is a real repair, not a cleaning step.
- Joints and parging: mortar that’s crumbled away from the chamber walls, which can allow heat to reach framing or masonry that isn’t rated for it.
The smoke chamber is also where a professional inspection earns its keep. A flashlight from the firebox shows you the bottom of the chamber, not the whole thing. A camera run from the top of the flue gives the real picture, and that’s the difference between “the fireplace looks fine” and “the smoke chamber is sound.” If you’re having the system looked at for the first time, this is the section to ask specifically about. A chimney technician who can resurface a smoke chamber with a HeatShield product is telling you something about depth of capability, not just whether they own a brush.
The Flue Liner: The Part That Decides Everything Else
The flue liner carries every bit of exhaust and heat from the fire up and out of your house. If the liner is sound, the rest of the checklist is maintenance. If the liner is compromised, nothing else about the chimney matters until it’s addressed, because a cracked liner is how heat reaches the structure around the chimney and how carbon monoxide can find its way into living space instead of up the flue.
There are three common liner types in Waco homes, and each is checked differently:
- Clay tile liner: individual tiles stacked with mortar joints. Look for cracked tiles, spalling faces, and gaps or offset joints where tiles have shifted. Any gap wider than a hairline is a service item.
- Cast-in-place liner: a poured refractory lining. Look for separation from the flue wall, cracking, or a section that’s pulled away.
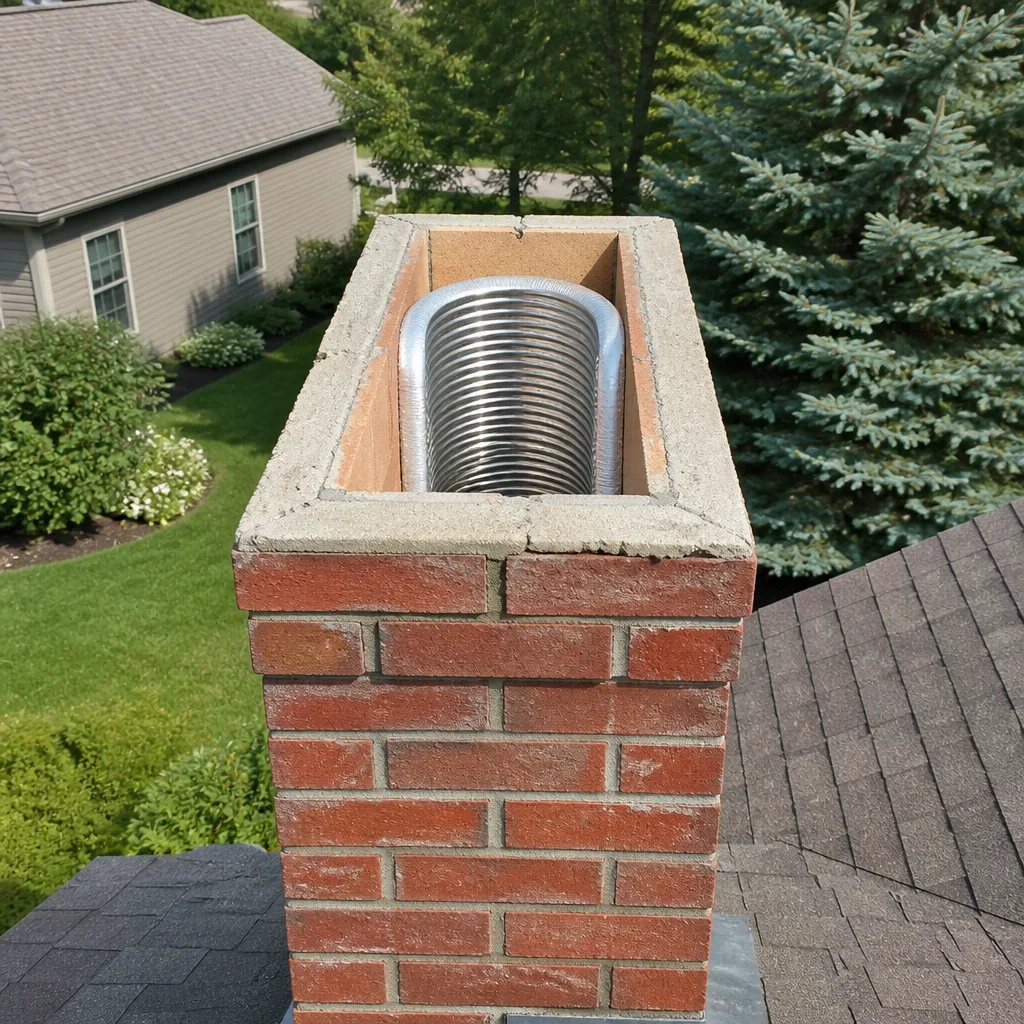
- Metal liner: a stainless flue tube. Look for corrosion at the seams, kinks, or a liner that’s slipped its connection at the top or bottom. Metal liners from DuraFlex are built for this environment, but every liner, regardless of material, gets checked for integrity, not just for soot.
Here’s why the liner is the linchpin: if the liner fails, the checklist turns into a different document entirely, because the fix is relining, not cleaning. For a homeowner, the practical takeaway is simpler. Have the liner checked by camera, get a photo of the inside, and keep it. If a sweep tells you years later that the liner needs replacing, you’ll have something to compare against. That’s what we mean when we say we’ll tell you exactly what your chimney needs and why. A photo report from a chimney sweep is worth more than a verbal summary, and any professional-level inspector will give you one.
For a liner that’s cracked but not fully failed, ceramic repair and resurfacing products can extend the life of the original system. That’s a HeatShield application, and it’s a real alternative to relining when the underlying structure is still sound. It isn’t the right answer for every liner, but a technician who works with both options can tell you which one your chimney actually needs.
Crown and Cap: The Weather-Facing End of the System
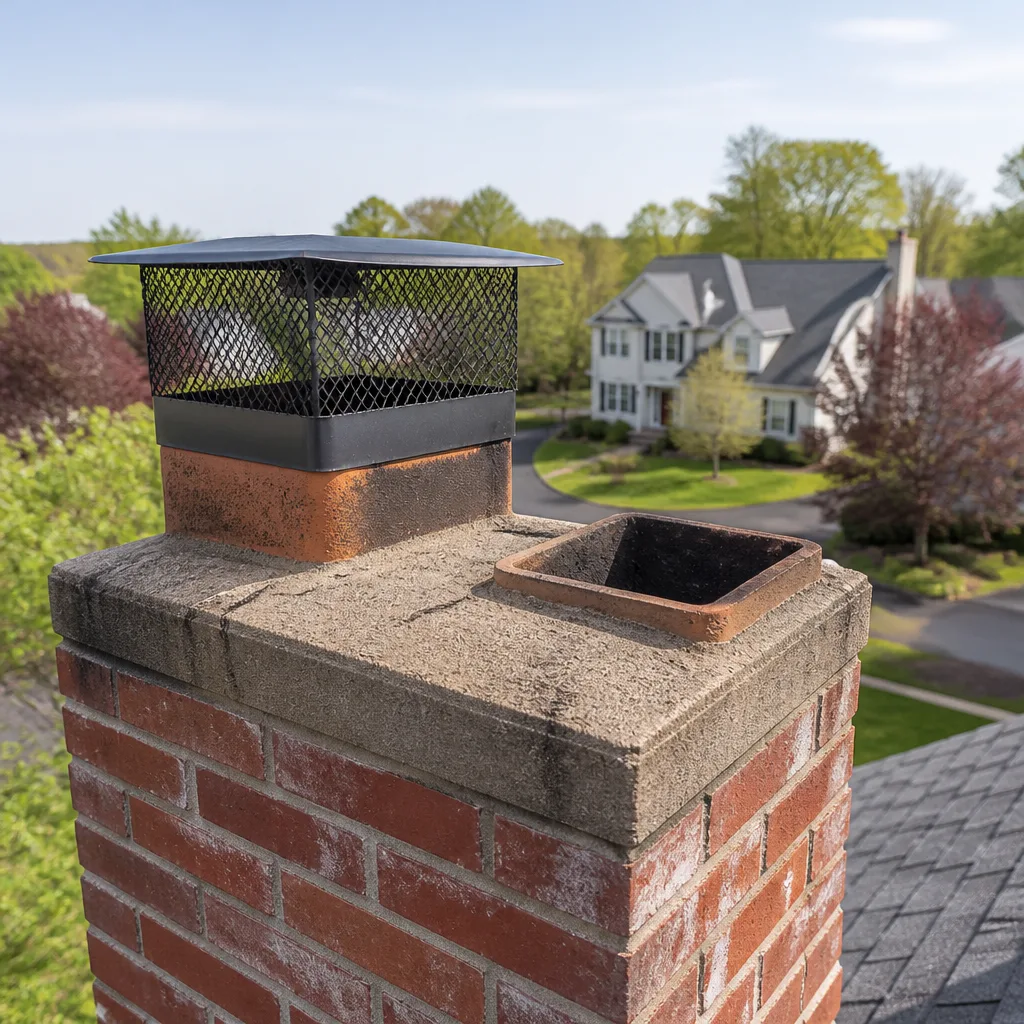
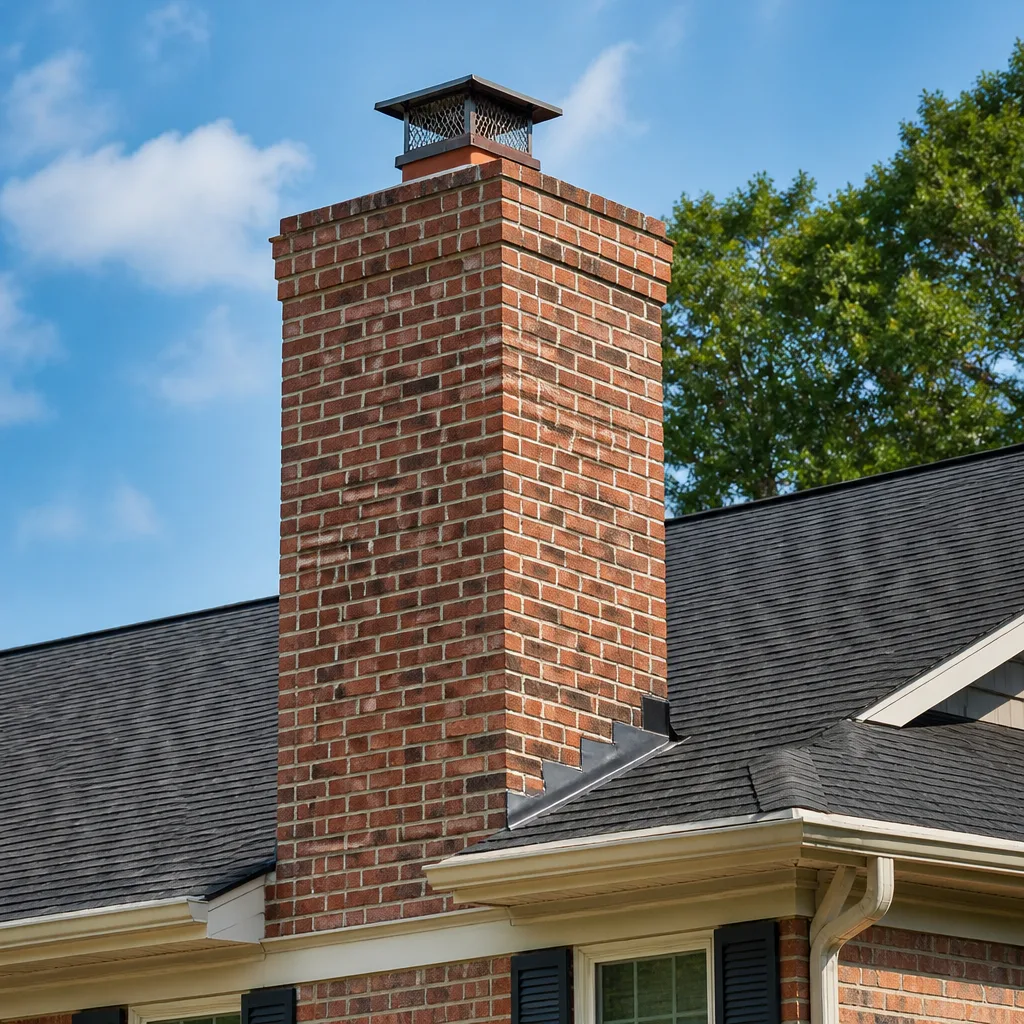
Everything above the roofline is where Waco’s weather does its work. The crown is the concrete cap at the very top of the chimney, sloped to shed water away from the masonry below. When the crown cracks or its slope flattens, water pools on it and finds its way down through the chimney structure. That water shows up as the white staining on the firebox brick we mentioned earlier, and it’s one of the most common issues we diagnose in Waco chimneys.
What to check on the crown:
- Cracks, especially where the crown meets the flue.
- A slope that’s flattened out and no longer sheds water.
- Missing or crumbling mortar at the crown-to-masonry joint.
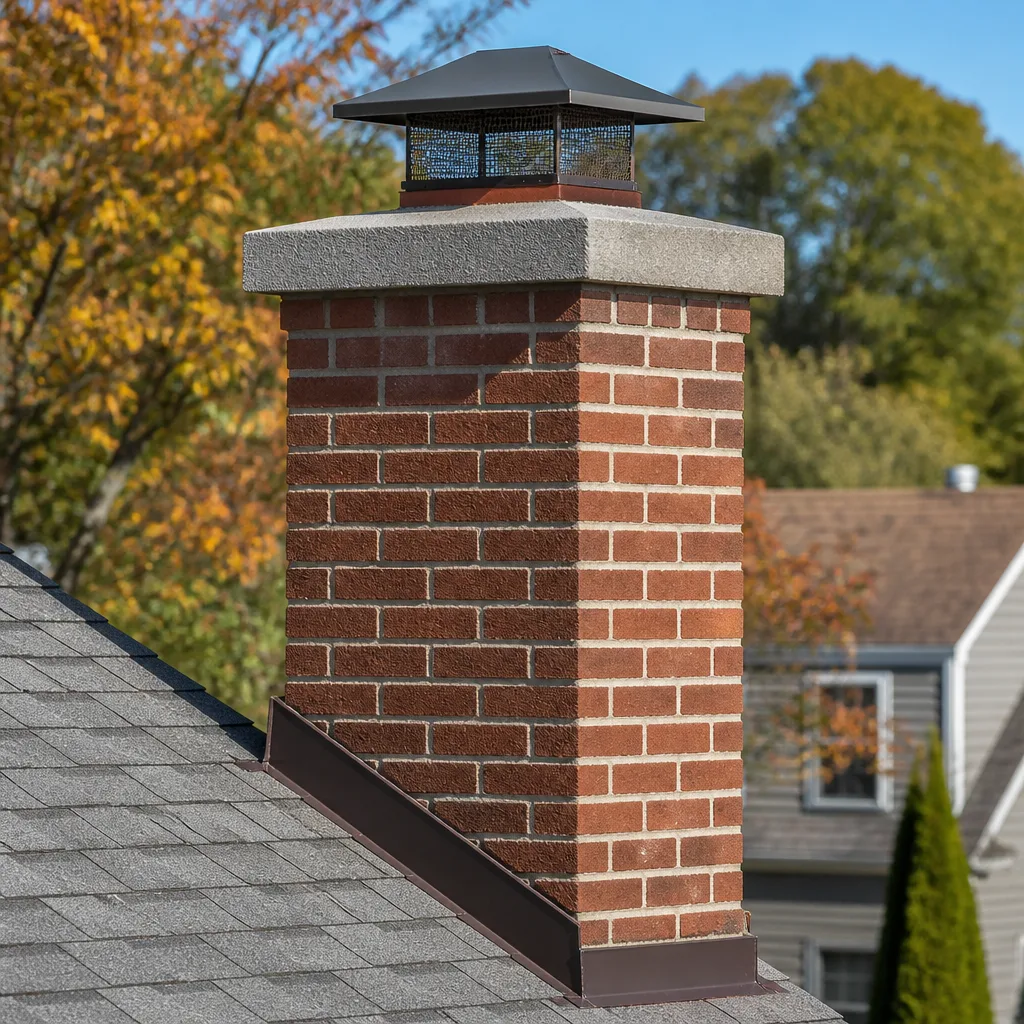
The cap is a separate part, and it’s the one a lot of homeowners can inspect from the ground with binoculars. What you’re looking for:
- A cap that’s missing entirely (common, and worth fixing for both rain and animals).
- A cap that’s damaged, rusted through, or sitting loose.
- A cap mesh that’s torn or clogged, which blocks draft and lets birds and squirrels in.
The right cap matters more than people expect. A properly sized cap keeps out rain, keeps out animals, and does it without choking the draft. We work with Gelco and Famco cap and venting components for that reason. Built to last between visits, not just cleaned for the day: a cheap cap that rusts out or blocks the flue in a year is a maintenance item you’ll be repeating. If you’re not comfortable getting onto the roof to look at the crown and cap yourself, that’s the right call. Not all roof pitches are worth walking on, and the check belongs in the professional inspection. For the Waco area, clay soil and the local drainage pattern mean water at the crown has fewer places to go than in wetter parts of the state, which makes a sound crown a real priority here.
Hands-On Tests Homeowners Can Run Safely
There are a few checks you can run yourself, from the hearth, with no tools beyond a candle and a flashlight. These aren’t a substitute for a full inspection, but they’ll tell you when to move up the schedule.
- The candle draft test. With the fireplace cold and the damper open, hold a lit candle near the top of the firebox opening. A healthy chimney pulls the flame and smoke up. A chimney that pushes smoke back into the room, or a flame that flickers toward you, has a draft problem worth investigating.
- The flashlight liner scan. From the firebox with the damper open, shine a strong flashlight up the flue. You’re looking for light through cracked tiles, visible gaps, or sooty buildup that’s thick and glazed. You won’t see the whole flue this way, but you’ll see enough to know if something looks wrong.
- The damper check. With a cold fireplace, open and close the damper fully. It should open completely and close flush. Look for daylight through it when it’s closed: if you can see light, it isn’t sealing.
- The creosote look. On the visible flue walls above the damper, note whether the deposit is sooty, flaky, or shiny and glazed. Glazed creosote is the kind that’s harder to remove and the kind that needs a professional.
What NOT to do: don’t reach up the flue, don’t try to clean the flue from inside the house with a brush on a rod, and don’t get on the roof unless you’re confident and equipped. Chimney work at the top of the system involves height and hot components, and that’s a real hazard, not a formality. The point of the hands-on tests is to give you information to act on, not to replace the professional inspection.
Maintenance Intervals by Fuel Type
Not every chimney needs the same schedule. The fuel decides more about maintenance frequency than any other single factor, and treating all chimneys the same is how problems get missed on the ones that actually need more frequent attention.
Wood-burning fireplace or stove. Clean the flue once a year of regular use, and more often if you burn green wood, burn frequently, or find glazed creosote at the annual cleaning. Creosote builds faster when the fire runs cool and smoky, so the way you burn affects the schedule as much as how often you burn. The damper and cap should be checked at every cleaning, and the crown and liner at each annual visit.
Gas fireplaces and inserts. Gas chimneys still need attention, just a different kind. Gas produces moisture and acidic condensate rather than creosote, and the liner and vent connections are what take the wear. Check the vent annually, have the system inspected annually, and watch for corrosion at the venting joints. A gas fireplace that hasn’t been serviced in several years is a common find, and it’s not one we’d leave unaddressed.
Dual-fuel or converted systems. If you’ve converted a wood-burning fireplace to gas, or if you’re running an insert in a system originally built for wood, the liner and sizing need to be matched to the fuel. This is where a lot of older Waco fireplaces end up with the wrong liner for the way they’re actually being used, and the maintenance schedule for that setup isn’t the same as for a wood-only chimney.
One additional note by fuel: if you burn during cold snaps, which in Waco means a handful of concentrated weeks each winter, factor that in. Repeated hot fires followed by cold masonry stress the joints, and a chimney that runs hard 30 days a year isn’t on the same schedule as one that runs lightly all season. Use frequency and intensity together when you set the cleaning date.
Red-Flag Conditions That Mean Stop Using the Fireplace
There’s a difference between “this needs attention” and “stop using the fireplace.” The checklist only does its job if you know which side of that line each finding falls on. A dirty flue can wait for the scheduled cleaning. These conditions can’t.
- A cracked or displaced flue liner that leaves a gap. Exhaust and heat can reach the structure around the chimney. Stop using the fireplace until it’s evaluated.
- Glazed, shiny creosote in significant quantity. That’s the type of deposit that feeds a chimney fire. It needs to be professionally removed, not burned off.
- Smoke backing into the room when the damper is open. A draft reversal on a normal day is a sign something’s wrong, and continuing to burn makes it worse.
- A damper that won’t open at all. Running the fireplace with the damper stuck closed is a carbon monoxide risk, not a draft nuisance.
- Crumbling firebox mortar with visible gaps. Heat can reach masonry that isn’t designed for it.
- A strong, acrid smell in the room when the fireplace isn’t in use. This can mean the chimney is blocked or draft is pulling exhaust back down. Stop and get it checked.
A chimney fire is the reason these red flags matter. It’s not a scare story; it’s a known failure in wood-burning systems, and it’s why creosote buildup and a compromised liner are treated as stop-sign conditions rather than maintenance items. Carbon monoxide is the other. A blocked or cracked flue can allow exhaust to find its way into a living space, which is why the liner check gets priority in the checklist and why a professional camera inspection matters more than a candle test. Any condition on this list is the point where the DIY portion of the checklist ends and the call-to-a-professional begins.
How a Liner System Changes Your Maintenance Schedule
The type and condition of your liner doesn’t just affect whether you need relining. It changes how you maintain the chimney going forward, and homeowners tend to find this out after the fact rather than before.
An unlined or badly damaged tile-lined flue is a maintenance-heavy setup. Deposits catch on rough joints, draft can be inconsistent, and the risk of accelerated wear at every joint means the flue needs closer attention each season. If you’re cleaning a flue in that condition, you’re cleaning around a compromised system, and the real recommendation is likely resurfacing or relining.
A metal liner from DuraFlex changes the picture. The flue walls are smooth metal rather than stacked tile joints, so creosote deposits more evenly and cleans more completely. The liner is checked for integrity at every cleaning, the same way you’d check any component, but you’re not chasing failing joints every year. A relined chimney is a chimney you maintain, not a chimney you keep patching.
Cast-in-place or HeatShield-resurfaced liners sit in between. A resurfaced flue is smoother than raw tile and improves draft and cleaning performance, but it’s a repair to the original structure, not a replacement. The maintenance schedule reflects that: check the resurfacing at each cleaning, and keep the photo report from the original job so you have a baseline. For a Waco chimney with a sound structure but a worn liner, that’s often the right balance between cost and long-term condition. For a chimney with a failed liner that’s already leaking heat into the structure, a full DuraFlex reline is the appropriate fix. The distinction is exactly what the professional inspection is there to make.
Common Mistakes to Avoid
- Treating the annual sweep as the whole checklist. A brush through the flue doesn’t inspect the crown, cap, damper, or smoke chamber. If your annual service only includes a sweep, the components above it go unchecked year after year.
- Skipping the liner in the checkup. A visual look from the firebox is not a liner inspection. Waco homeowners who’ve never seen a photo of their flue interior often have no idea what condition the liner is in. Camera inspection is the check that matters.
- Burning green or unseasoned wood to “save” on firewood. It burns cooler and dirtier, which builds glazed creosote faster. The cleaning schedule tightens, and the risk goes up. Seasoned wood is cheaper in the end than a reline.
- Ignoring a cap that’s been missing for years. An uncapped flue takes in rain, debris, and animals. It’s the least expensive part of the system to fix and one of the most neglected.
- Assuming a gas fireplace needs no maintenance. Gas systems don’t produce creosote, but they produce moisture and acidic condensate, and the venting still needs annual inspection. Skipping the gas chimney is a common gap in Waco homes that get their wood fireplace checked and leave the gas insert alone.
- Hiring a sweep who won’t show you the inside of your own chimney. If the report is verbal only, and nobody puts a camera up there, you have no way to verify what you were told. That’s the biggest mistake of all, and it’s the one that costs homeowners the most over time.
- Running the fireplace at the first sign of something wrong. A smoking fire, a stuck damper, or a smell in the room is not a “wait and see” situation. Those are the conditions the red-flag list exists for.
When to Call a Professional
Call a professional when any item on the red-flag list shows up, when you’ve never had the flue camera-inspected and don’t know its condition, when your last cleaning was more than a year of regular use ago, or when an inspection report flags a liner, crown, or smoke chamber item you can’t verify yourself. The same goes for a home you’ve just bought in Waco: a pre-move-in inspection of the chimney is one of the cheapest things you’ll do before you light the first fire, and it’s the one most people skip.
Chimney Sweep Waco offers free estimates in Waco, and we’ll tell you exactly what your chimney needs and why, in a photo report you can see for yourself. If a repair isn’t needed yet, we’ll say so. Sweep, repair, and inspect, handled by one specialist. Call (866) 370-3896 for a free estimate. We answer 24/7. Fast dispatch from 7am to 7pm, Sunday through Friday. You can also see our full service overview at Waco.
Frequently Asked Questions
Once a year of regular wood-burning use is the standard for a Waco chimney, and more often if you burn frequently, burn unseasoned wood, or find glazed creosote at the cleaning. Gas fireplaces also need annual inspection even though the cleaning itself is different. If you’re unsure where your chimney stands, a camera inspection answers it. Call (866) 370-3896 for an exact quote, and estimates are free.
Chimney sweeping is priced per job by a written estimate, so the exact number depends on the condition of the flue, whether the fireplace is wood or gas, and whether the sweep is combined with an inspection. There’s no separate fee structure to guess at: the written estimate sets the final price, and the estimate visit itself is free. Call (866) 370-3896 for an exact quote.
Skipping maintenance lets creosote build up, which is the material a chimney fire feeds on, and lets small issues like a cracked crown or a worn damper develop into larger repairs. A missed liner problem is the one that matters most. None of that is a reason to panic, but it is a reason to get the system checked before the next burning season rather than after. Call (866) 370-3896 for an exact quote, and estimates are free.
It depends on what the inspection finds. A cracked but structurally sound tile flue can often be resurfaced with a ceramic repair product like HeatShield, while a failed liner that’s leaking heat or exhaust into the structure needs a full reline with a metal system like DuraFlex. Nobody should be telling you to reline a chimney without showing you the camera footage. Call (866) 370-3896 for an exact quote, and estimates are free.
You can run the safe hands-on checks: a candle draft test, a flashlight scan up the flue, a damper open-and-shut, and a look at visible creosote. Those tell you whether to move up your schedule. They don’t replace a camera inspection, and they don’t substitute for the roof-level check of the crown and cap. Call (866) 370-3896 for an exact quote, and estimates are free.
A gas fireplace needs an annual inspection of the venting and liner, and attention to moisture and condensate corrosion at the venting joints rather than creosote removal. Gas systems are often neglected because owners assume they’re maintenance-free, but the venting still wears over time. Call (866) 370-3896 for an exact quote, and estimates are free.
The Bottom Line
A chimney maintenance checklist works when it’s tied to the parts of the system that actually fail and on their own schedules. The firebox, damper, smoke shelf, smoke chamber, flue liner, crown, and cap each need their own look, in that order. Handle the safe hands-on tests yourself, use a camera inspection for the liner, and respect the red flags: cracked liner joints, glazed creosote, smoke in the room, a stuck damper. Schedule the sweep around your fuel type, and if your liner is due for resurfacing or relining, work with a specialist who can do the sweep, the repair, and the inspection under one roof. Our technicians have up to 14 years of experience with professional-grade liner and repair components, and we’re glad to put a free estimate together for your Waco home.
Call (866) 370-3896. We answer 24/7. Fast dispatch from 7am to 7pm, Sunday through Friday.
Written by the team at Chimney Sweep Waco.
See the difference
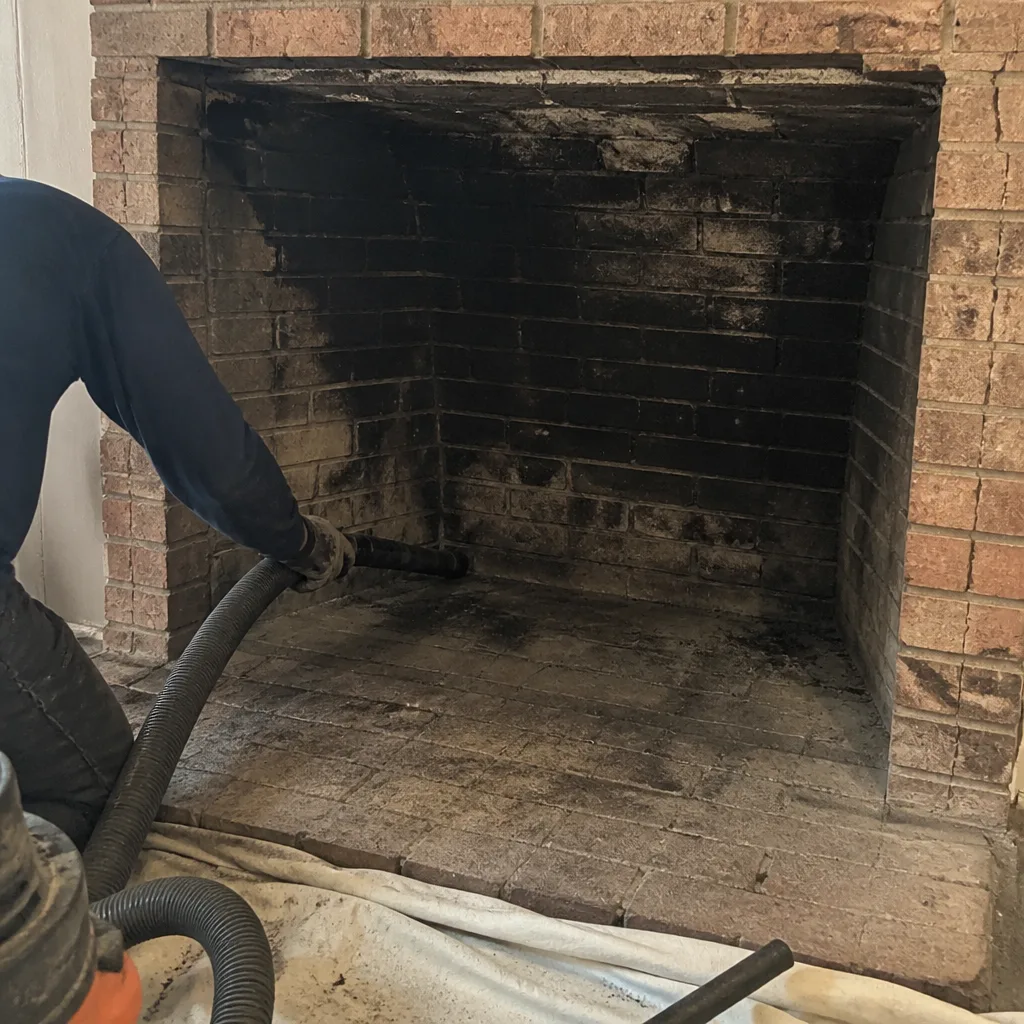 Before
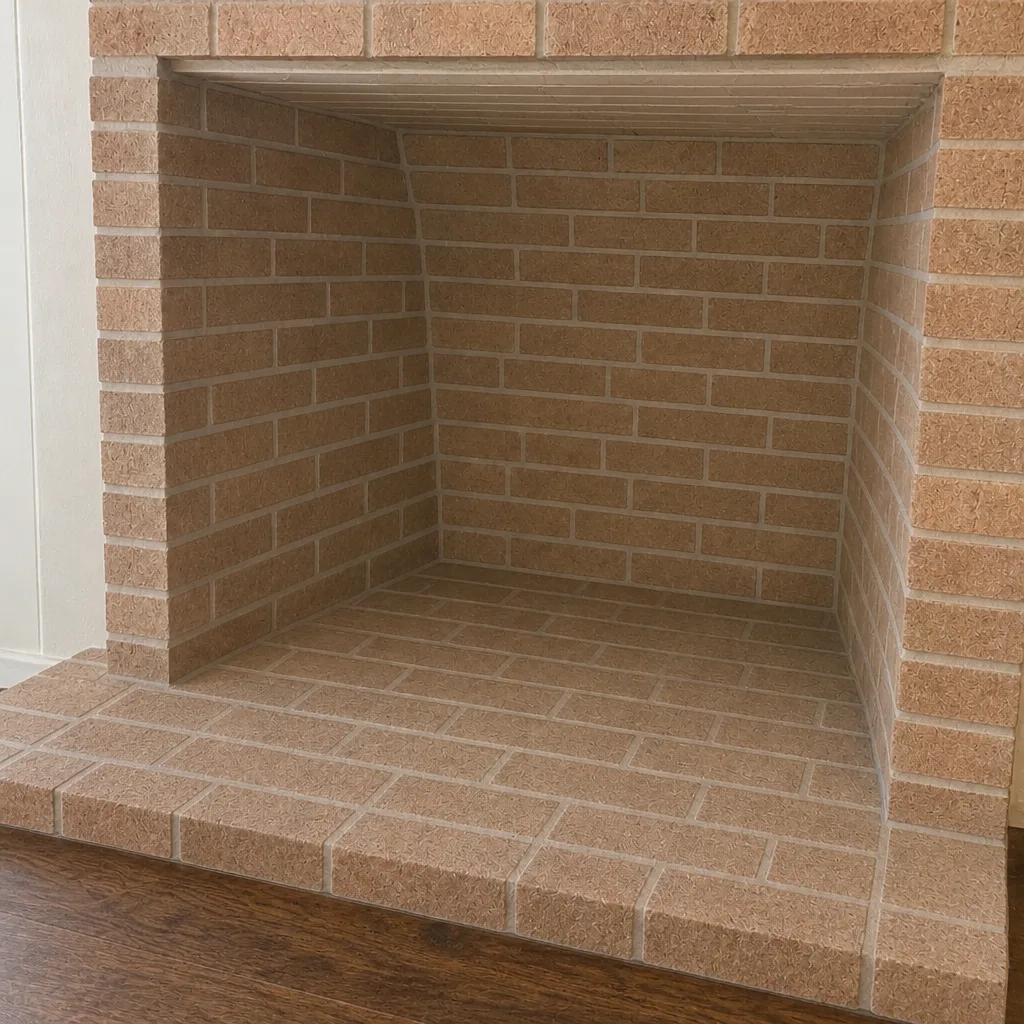 After
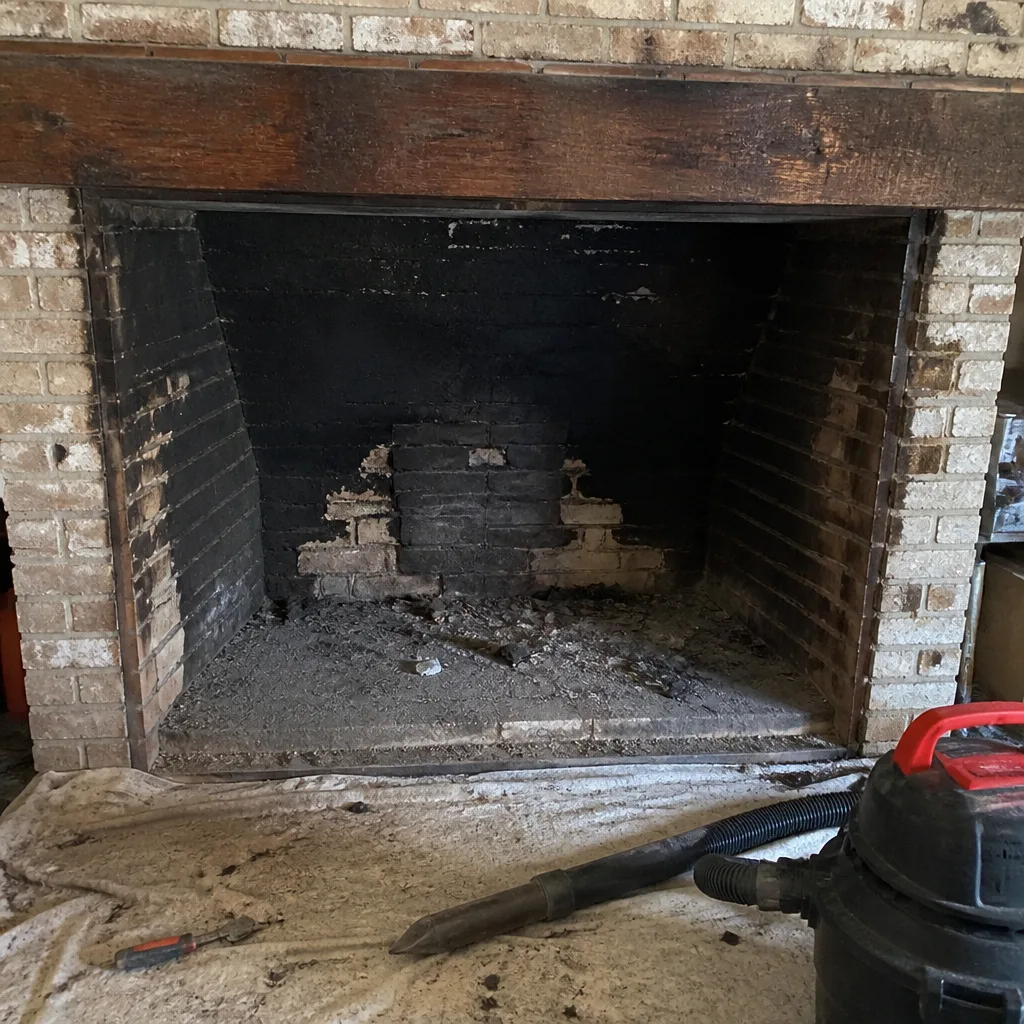 Before
 After
 Before
 After